Featured Post

20 min. Yeast-Free, Gluten-Free Italian Bread & Easy Mezzetta Olive Tapenade

My favorite holiday memories are of having lots of family and friends over for big meals. I love doing the cooking, preparing holiday recipes, the noise and laughter in the house, and of course, eating the food. I've happily adapted most of my old recipes to gluten-free but I had one more challenge. I was missing crusty chewy   Italian bread that I could make into Crostini! I've always loved warm toasted chewy bites of Italian bread at holiday parties. Topped with Tapenade or made into Bruschetta, they are my favorite appetizers, but I hadn't quite found the right gluten-free flour blend to achieve that wonderful chewiness, until now! I'm so excited to share my NEW 20-minute Gluten-free, Yeast-free, Egg-Free, and Xanthan Gum-Free Italian Bread Rolls with you and did I say, they only take 20 minutes? No yeast, no rising and so easy to make. This amazing dough is also perfect patted out thin for flatbread or pizza crust. Scroll down to see my new Pizza crust u

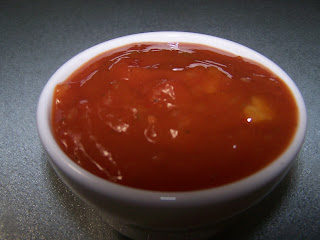
Just Peachy Skinny Gluten Free Salsa

  • Ingredients-
  • 3 cups chopped fresh or frozen peaches, mango or pineapple 
  • 4 chopped and seeded fresh Roma tomatoes
  • 3/4 cup finely chopped red onions
  • 2 medium jalapeno peppers , seeded and finely chopped
  • 1 large sweet red pepper , seeded and finely chopped
  • 1/4 cup finely chopped cilantro
  • 1/4-1/2 cup distilled white vinegar- to taste- I use Heines
  • 4 tablespoons honey
  • 1 garlic clove , very finely diced
  • 1/2 teaspoon GF ground cumin
  • dash cayenne pepper or hot sauce  (I use Sriricha- to taste)

Directions:


  1. In a large stainless cooking pot, combine peaches, tomatoes, onion, Jalapeno peppers, sweet red pepper, cilantro, vinegar, honey, garlic, cumin and cayenne pepper.
  2. Bring to a boil, and cook for about 5 minutes, stirring frequently. If the mixture is too sloppy or soupy, boil for a few minutes longer so that some of the liquid evaporates and the mixture thickens. It will also thicken a bit more in the fridge.
  3. Adjust seasonings to taste.
  4. Add more cayenne pepper if you desire a spicier taste.
  5. Ladle salsa into sterilized jars and label.
  6. Keep in fridge.   Makes 4 pints. 
    *This is a big money saver over buying it in the store and you don't have to worry about cross contamination!    Enjoy!!

  7. NOTE: You can also follow your canning instructions if you want to keep this in the pantry!

Comments