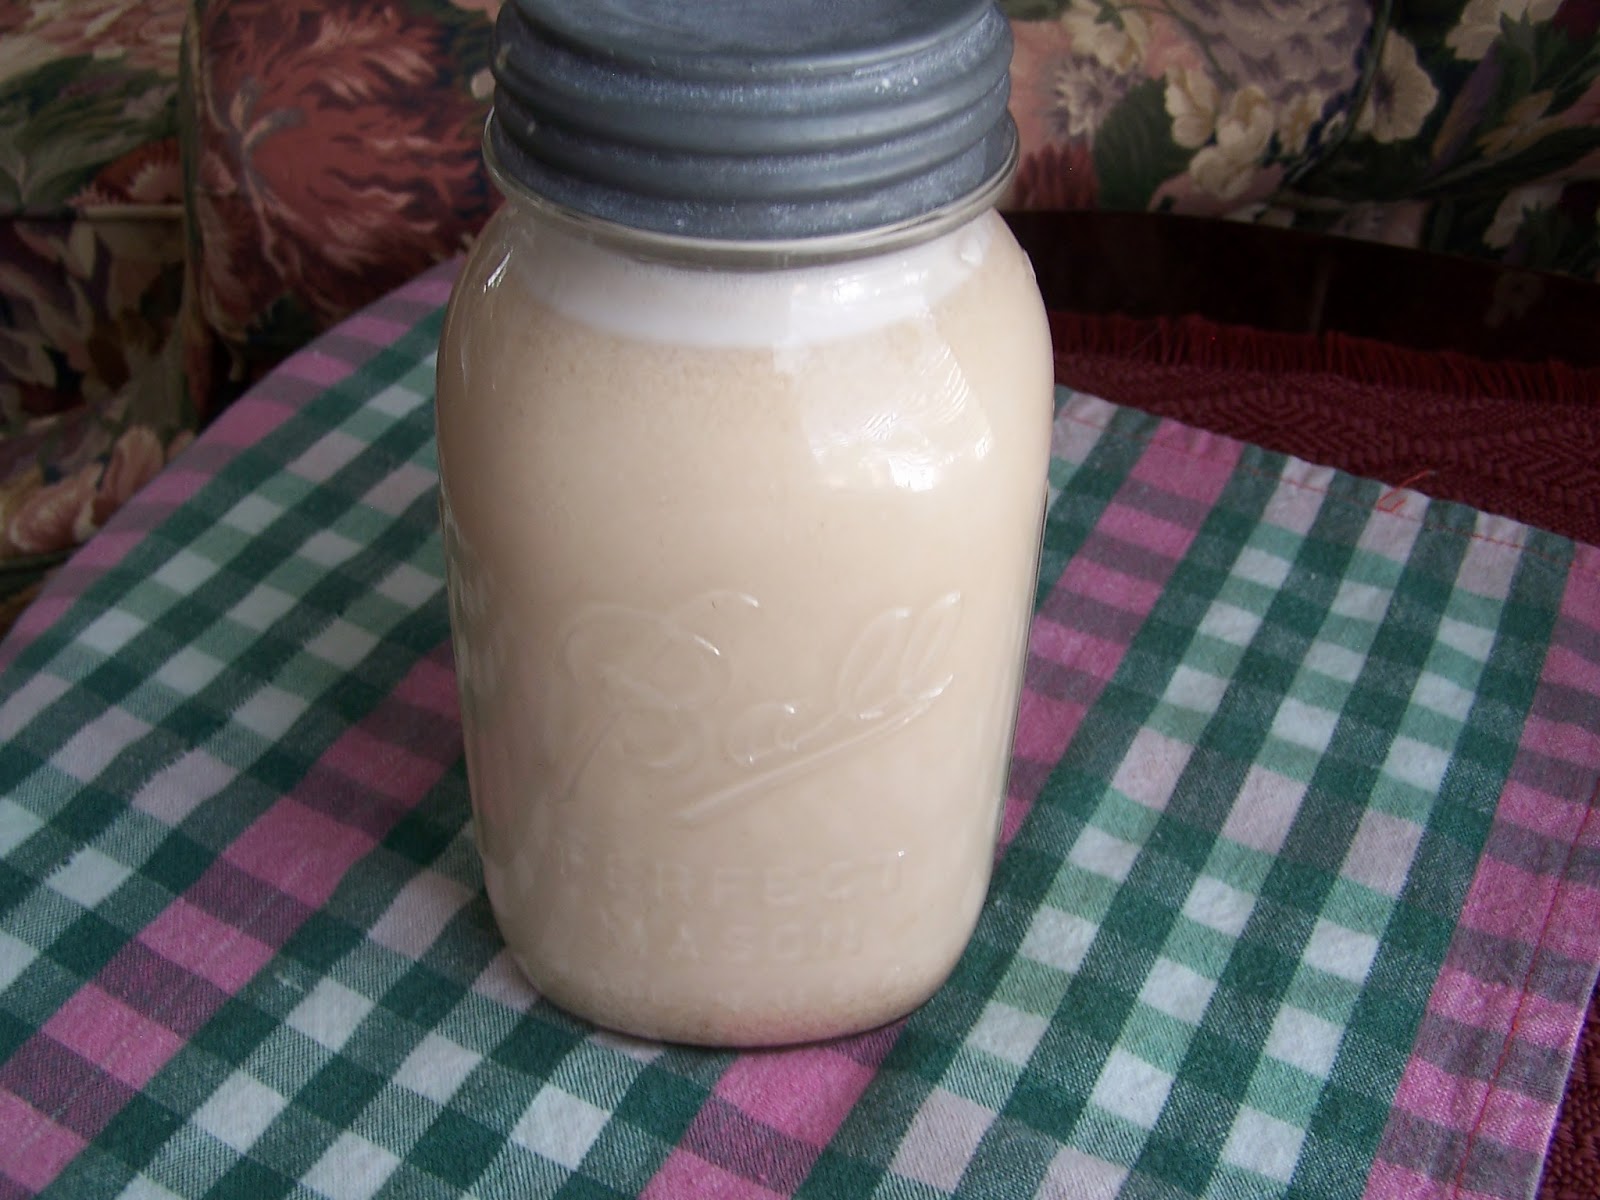
If you're paying for almond milk you need to try this! In my opinion it's so much tastier and I feel like it's almost free!
It only takes 1 cup of raw almonds, but you get most of the almond meal back after blending and straining. I scoop it back into my Homemade Almond butter tub and stir it in or use it in my baked goods.
Disclosure: This post contains affiliate links, I may be compensated for purchases made through these links. For more information, click here.
I haven't tried dehydrating the leftover almond meal yet, but I think that's next on the list, and then grind it into almond flour.
I add psyllium husks for the extra fiber heath benefits and to thicken up the milk a little. If you don't have them on hand don't worry, it will still turn out fine.
I use an older Cuisinart Food Processor/Blender for almost everything, and it works great but I'm slowly wearing out my beloved beast with all the grinding that I do these days, so I think when it finally goes to the big appliance junk yard in the sky, I might buy this Oster blender (ps. affiliate links don't cost you anything, but they pay me a few pennies)
DIY Almond Milk, GF, SF, DF, lactose free, frugal
Inspired by Whole New Mom
Makes 3-4 cups of Almond Milk
Ingredients:
- 1 cup of raw almonds, soaked overnight
- 1 tablespoon psyllium husks, opt
- 10 drops Sweet Leaf Vanilla Stevia or a tablespoon local honey
- 3-4 cups filtered water (Note: I like mine thick and use 3 cups water)
- Soak your almonds overnight. Drain the water and rinse the almonds. Remove any skins.
- Put all ingredients into your food processor or blender. Careful, it will expand so only fill it 1/2 full.
- Blend for about 4-5 minutes (less if you have a high powered machine) or until you have a thick white milk color.
- Strain the milk thru a fine mesh strainer. I adore my strainer!
- Scrape the almond meal from the strainer and reserve for baking or almond butter.
- Pour into jar and refrigerate. Shake before using


I can drink regular milk but I am going to print this out to have on hand. Thanks for the recipe.
ReplyDeleteJanet
Hi Janet, you're welcome! I love the nutty flavor in my baked goods and I put it in my smoothies too! Have a great day, Ali
Delete