I'd given up the hope of ever tasting a light flaky butter pastry again. It's not like we can go to the store and buy gluten free croissants is it?
Maybe someday we'll be able to, but for now I had to come up with something I could do. All of the croissant recipes that I studied seemed like just too much work.
But one day I decided to try make a crescent roll. I made it similar to the croissant, but not as precise and they still turned out delicious. The first bite and I literally gasped with joy!
Do you have a scale? Baking with a scale helps reduce the chance of recipe failure due to incorrect measurement. My sister bought me this one and I love it. You can find this one and many others on Amazon here.
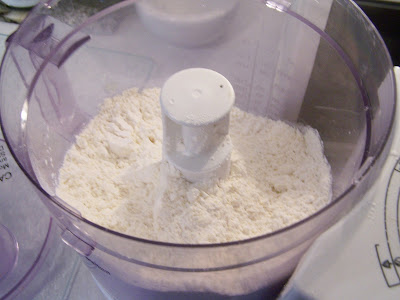
A food processor works best for gently pulsing the butter into the flour.
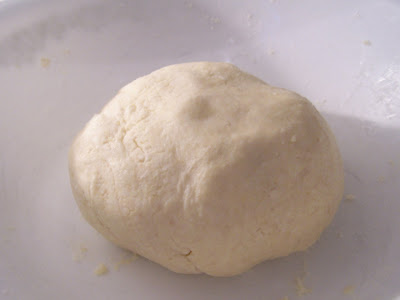
When you add the dry to the wet it will look very dry. Do not add more liquid until you work the chunks into the dry. The dough will be rough. It should never be wet. It will come together after kneading.
See? It's a good dough and easy to work with. Just rice flour your board and work quickly.
Don't be intimidated by this recipe. You can do this!
Just fold and roll, turn 90 degrees, fold and roll..that's all
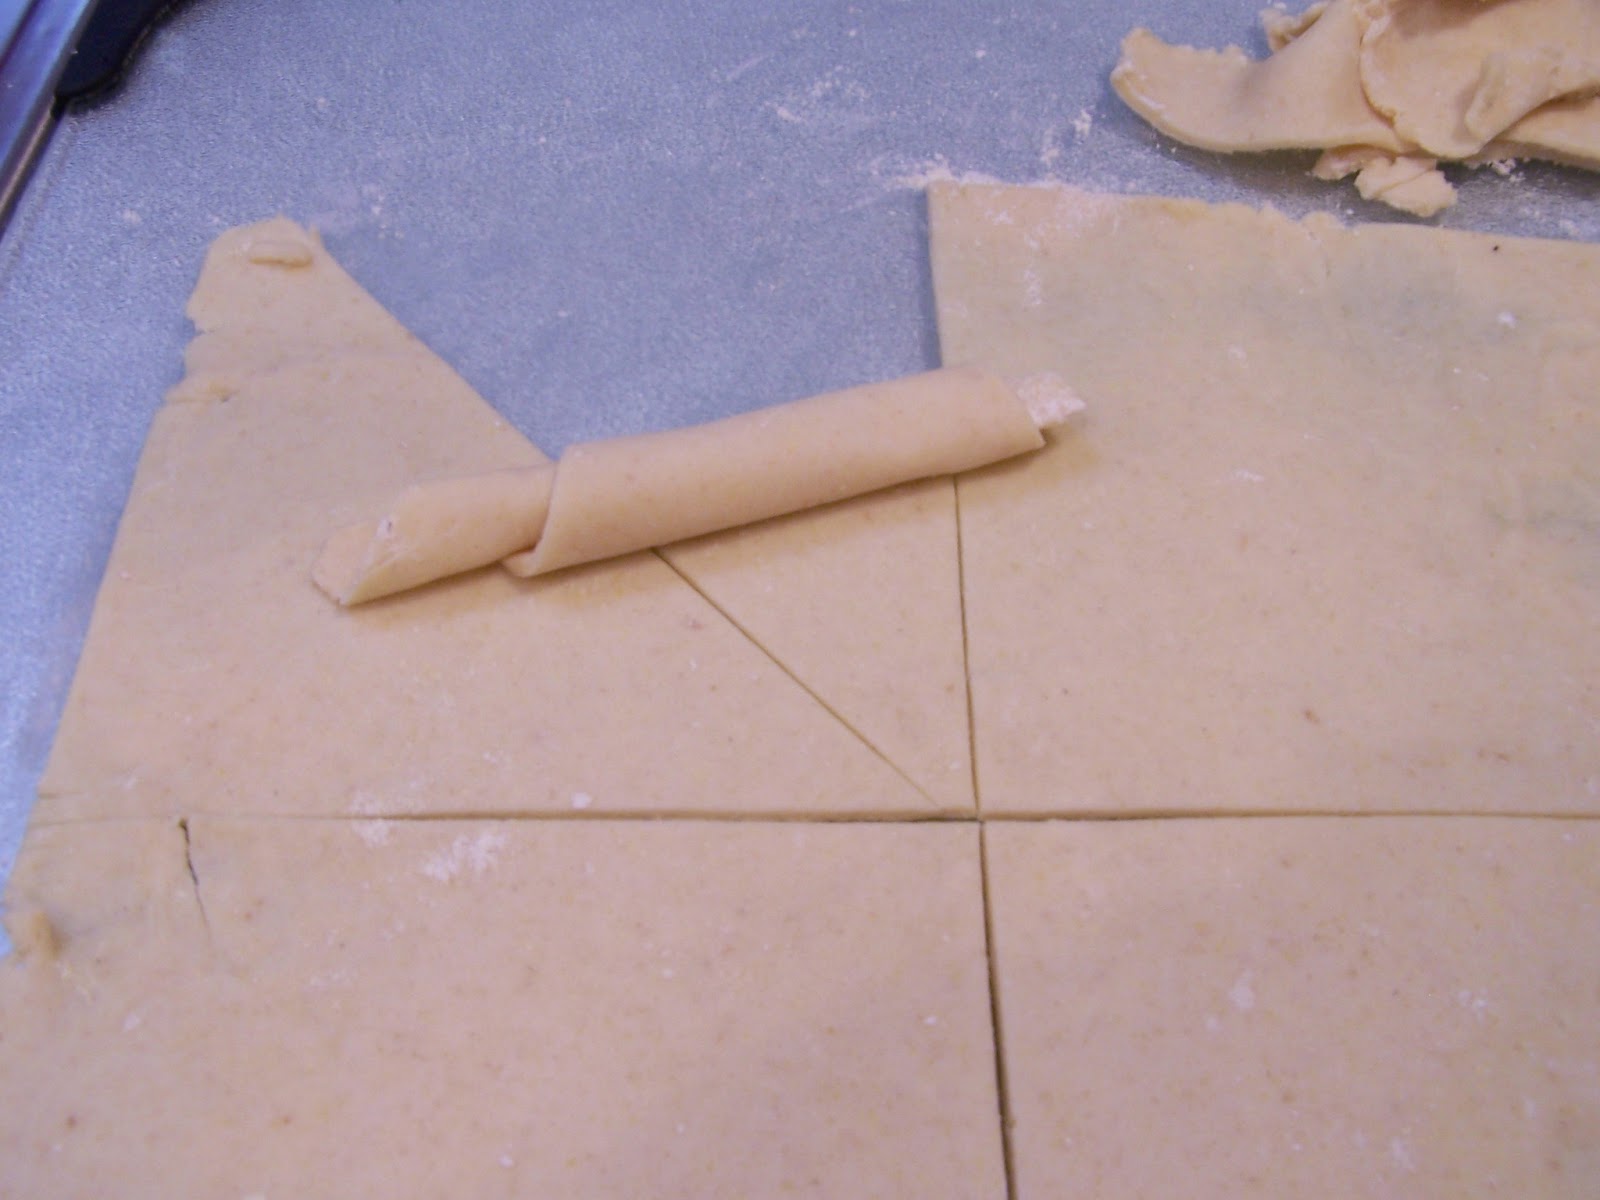
Final folded package going in the fridge. Roll out and cut the triangles. A pizza cutter works best.
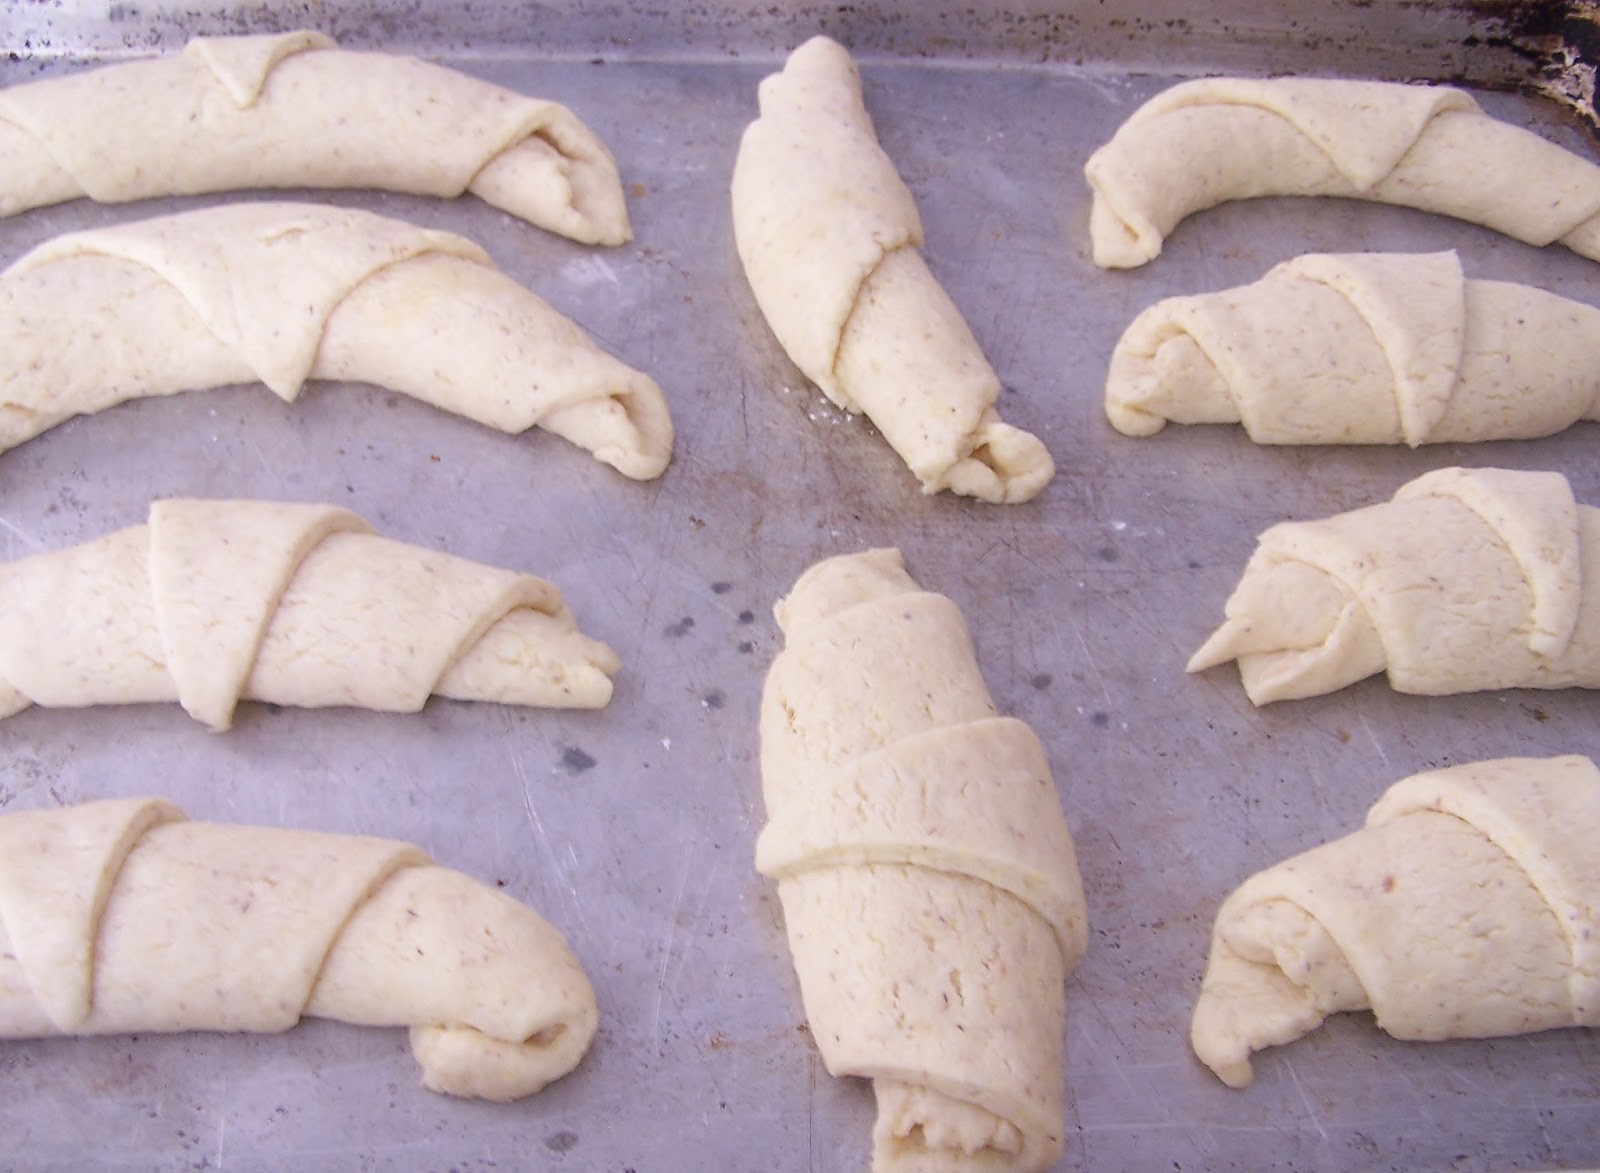
Gently roll your crescent rolls so that they aren't tight and can cook through. Now we rise!
Almost there! Below is the first batch I baked the same day. They are smaller than the batch that stayed in the fridge overnight but perfectly acceptable if you can't wait.
Incredibly Easy Gluten Free Crescent Rolls
Disclosure: This post contains affiliate links, I may be compensated for purchases made through these links. For more information, click here.
Ingredients:
Flour mix: Mix/whisk/shake all flours together in a large tupperware and use as needed for recipe. I grind my own flour from gluten free oatmeal and millet in my coffee mill. Then I sift and regrind until very fine. I like my flour to be room temperature, so I take it out of the fridge, and let it warm up for several hours. If you use a different mix you won't have the same results that I did. Note: I tried substituting psyllium husks for the xanthan gum and it didn't work. I would love to hear if you can make these with another binder.
1/2 cup gluten free oat flour, or finely grind gluten free oats in a coffee mill until flour
1 1/2 cup gluten free millet flour
1 1/2 cup + 2 tablespoons gluten free tapioca starch
1 cup gluten free cornstarch
1/3 cup gluten free sweet rice flour
Crescent Roll Ingredients:
- 270 grams of flour mix above (apx 2 1/2 cups but use a scale if you can)
- 4 teaspoons fresh dry active yeast, I use Saf-Instant Note: always store yeast in the freezer. Remove from freezer 15 minutes before using.
- 2 tablespoons + 1 teaspoon cane sugar
- 1/2 teaspoon salt
- 3 teaspoons xanthan gum
- 1 stick + 2 tablespoons organic unsalted butter, chilled and diced just before using
- 1/2 cup milk or water, warm, as needed 100-110 degrees
- 1 egg, beaten for final wash (do not add to dough)
- gluten free flour for board
First Stage:
- In a large bowl add the yeast to 1/4 cup of the warm milk or water, the 1 teaspoon of sugar and set aside to double.
- In the large bowl of your food processor place the flour, sugar, salt and xanthan gum, pulse to combine.
- Add the very cold diced butter and carefully pulse just until butter is in small but clearly visible pieces. Do not over mix.
- Turn the flour mixture into the bowl of milk and yeast.
- With a large spatula gently fold the dry into the wet, moving quickly so the butter doesn't melt. Chopping a little with your spatula to break up the chunks until the dough starts to come together. It will still be very rough. Add the rest of the milk if dry. I used 1/2 cup.
- Now gather up all the pieces and press into a ball and knead a few times in the bowl. Touching the dough as little as possible and moving quickly will keep your butter from melting.
- Cover with plastic wrap and refrigerate for 2 hours.
- Remove your dough from the fridge and place on a cooled cutting board sprinkled with the flour mix. Keep the flour mix nearby to sprinkle the board and rolling pin during rolling.
- Moving quickly and touching the dough as little as possible, place the ball of dough on the floured board and flatten.
- With a floured rolling pin roll the ball into a apx 9x15 inch rectangle. I roll several times and then lift the dough and sprinkle the board and rolling pin with flour. The dough should be easy to lift.
- Now fold in thirds, as seen in my pictures, long sides together like a letter.
- Turn the dough 90 degrees, sprinkle board with little flour again if needed, and roll into the rectangle again. You don't want to incorporate a lot of flour into your dough so brush the flour off before folding and rolling.
- Do the 90 degree turn, fold and roll a total of three times. You can refrigerate for 15 minutes in between folds for even more height if you have time. On the third fold I fold into a smaller package and wrap in plastic wrap. Put the wrapped dough back in the bowl and refrigerate depending on how soon you want to use it. See final stage.
I tried this two ways and here are my results:
Bake same day: pretty good
I left the dough in the fridge for about 1 1/2 hours.
Then I took it out, removed the plastic and rolled it again to large thin 9x15 inch rectangle on my cool lightly floured cutting board. Again, I roll, and lift and sprinkle if needed
Cut out large squares and then cut into triangles with a pizza cutter or sharp knife. Roll gently from the wide base to the tip. Place rolls tip side up on a greased cookie sheet. Cover with plastic wrap. Let rise in a warm place until double. Brush with egg wash.
Bake 350 for 20-25 minutes
Bake the next day: preferred
Leave the dough in the fridge overnight and then do the same rollout as same day above. They came out flakier and bigger this way. Please let me know if you have any questions. Happy Baking!!







Hi Ali! I adore crescent rolls and miss them! I would love to feature your recipe, but there is no link back to Allergy free Wednesday, let me know if you get one! Thanks!
ReplyDeleteHi Tessa! It's so great to hear from you and thanks for wanting to feature my crescent rolls!! I always link back before I post on Allergy Free Wednesdays. There is a link back on the post but I'll go make sure it's working and fix if it's not right now. Thanks again and big hugs
DeleteWe are a gf family because our 11 year old daughter was diagnosed with Celiac 2 months ago. We're having an annoying problem - it seems that my husband may have a sensitivity to Xanthan Gum. I'm glad it's not my daughter or we would be having trouble figuring out what is going on. Can I substitute guar gum for the xanthan gum in this recipe? Or I read elsewhere on your blog about substituting psyllium husks. I'm obviously new to gf baking so I'm still figuring it all out. But I know my daughter would adore these rolls!
ReplyDeleteHi Linda,
DeleteI have tummy problems from xanthan too. Surprisingly though, these rolls made with xanthan gum didn't bother me too much. It makes me wonder if it's the xanthan that bothers me or the predominance of rice flours I used to use. I'm really loving using millet these days.
I don't see why you can't substitute with guar gum instead. Please let me know how it works for you!
To answer your other question: I made my second batch with the psyllium husks and they didn't hold the rise. I've had a lot of success with psyllium in many baked goods but not this one.
Have a great day and good luck!
Can I use white rice flour instead of millet flour?
ReplyDeleteWill the amount remain the same as millet flour?
Please reply
Again, as I commented on your other question, it won't work well. Sorry! White rice flour has too much starch but you can try sorghum, Brown rice, oat flour, or any whole grain flour as a sub!
Delete