On my last shopping trip for groceries, I was amazed by how much meat has increased in price. It's crazy, isn't it?
I decided if I have to pay high prices, I was going to start buying the cage-free, antibiotic-free chicken and I'm so glad that I finally made the leap. It's not easy to justify organic meat on a budget, but this recipe is actually very economical!
Once you pound out the breasts they increase in size quite a bit. One chicken breast, made into two cutlets, with salad on top, filled up hubby and me perfectly! And you can make them #grainfree!
Do you worry about fried foods? We do too. We hardly ever fry food anymore at our house, but this recipe uses very little oil, and it's a healthy oil, so I don't mind the healthy fats in our diet.
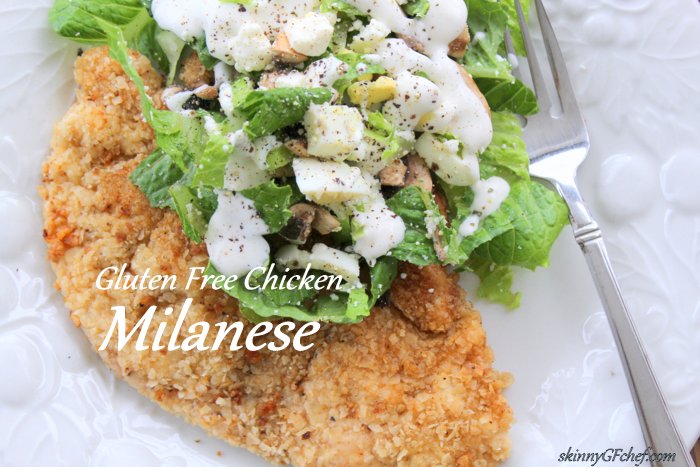
I topped the cutlets with a romaine salad with mushrooms, shallots, hard-boiled egg, and a light yogurt dill dressing. It was so satisfying and all we ate was half a chicken breast!
The next day I warmed the leftovers up and made chicken cutlet sandwiches on the Chia bread...heavenly.. and will definitely be on our monthly menu from now on.
INGREDIENTS
- In three separate flat dishes:
- 2 large cage-free,antibiotic-free, fresh chicken breasts.
- Slice in half horizontally and pounded thin, season both sides with salt and pepper.
- 1-2 cups gluten-free flour of choice, like gluten-free white rice flour or for grain-free use arrowroot flour
- 2 large eggs, beaten
- 3 cups gluten-free crumbs, from finely ground day old gluten-free bread, crackers or chips
- Seasonings, like a pinch of garlic powder, paprika, black pepper, cayenne and oregano, or your favorite blend for the crumbs
- In the pan:
- 2 tablespoons butter
- 2-3 tablespoons olive oil or coconut oil
PREPARATION
Slice chicken breast in half horizontally as evenly as possible.
Layout a long piece of plastic wrap on your counter, place the 4 pieces of chicken on top of the wrap, leaving plenty of space between each piece.
Lay another piece of plastic wrap on top of the chicken.
Pound the chicken with a mallet or rolling pin until they are very thin.
Careful not to put holes in them if you can, but you do want the cutlets very thin, so pound away. The cutlets should be much bigger once you are done.
Remove the top sheet of plastic and season the chicken with salt and pepper on each side.
Line up your three flat dishes as directed above in this order. Flour first, beaten eggs second, and seasoned crumbs last. I use FEC to remember the order.
In a large cast-iron fry pan, heat the oil and butter on medium heat.
Dredge chicken in flour on each side.
Dip quickly in the egg on each side. You don't want to wash off the flour.
Lay in the crumbs on each side.
Place in a hot pan and fry for 2-3 minutes, watch to make sure they aren't getting too brown, decrease heat if they are cooking too fast. Turn and cook the other side.
My pan fits two cutlets. Remove from the pan and place in a warm oven while you cook the other two.
Serve with Romaine or Arugula salad and a simple yogurt dill dressing made from a cup of plain yogurt, pinch of fresh dill, a little minced garlic, and a dash of lemon juice.


Comments
Post a Comment
Hi! Thanks for stopping by!
Thank you so much for your comments and questions. I respond as fast as I can, so please be sure to check back for your answer. By leaving a comment you are consenting to your email being collected for communication purposes only. Blessings, Ali